In the previous post I introduced Salesy, a human-in-the-loop AI assistant that streamlines sales journeys by guiding the prospect through various stages of the journey. I mentioned that Salesy works over email. That is, it reads incoming emails and drafts reponses to them with the intention of keeping the sales process moving forward. The first step to use the system, therefore, is to connect the inbox so that Salesy can read emails. This post talks about how to connect your inbox to Salesy and gives an overview of what happens in the background.
Connecting Inbox
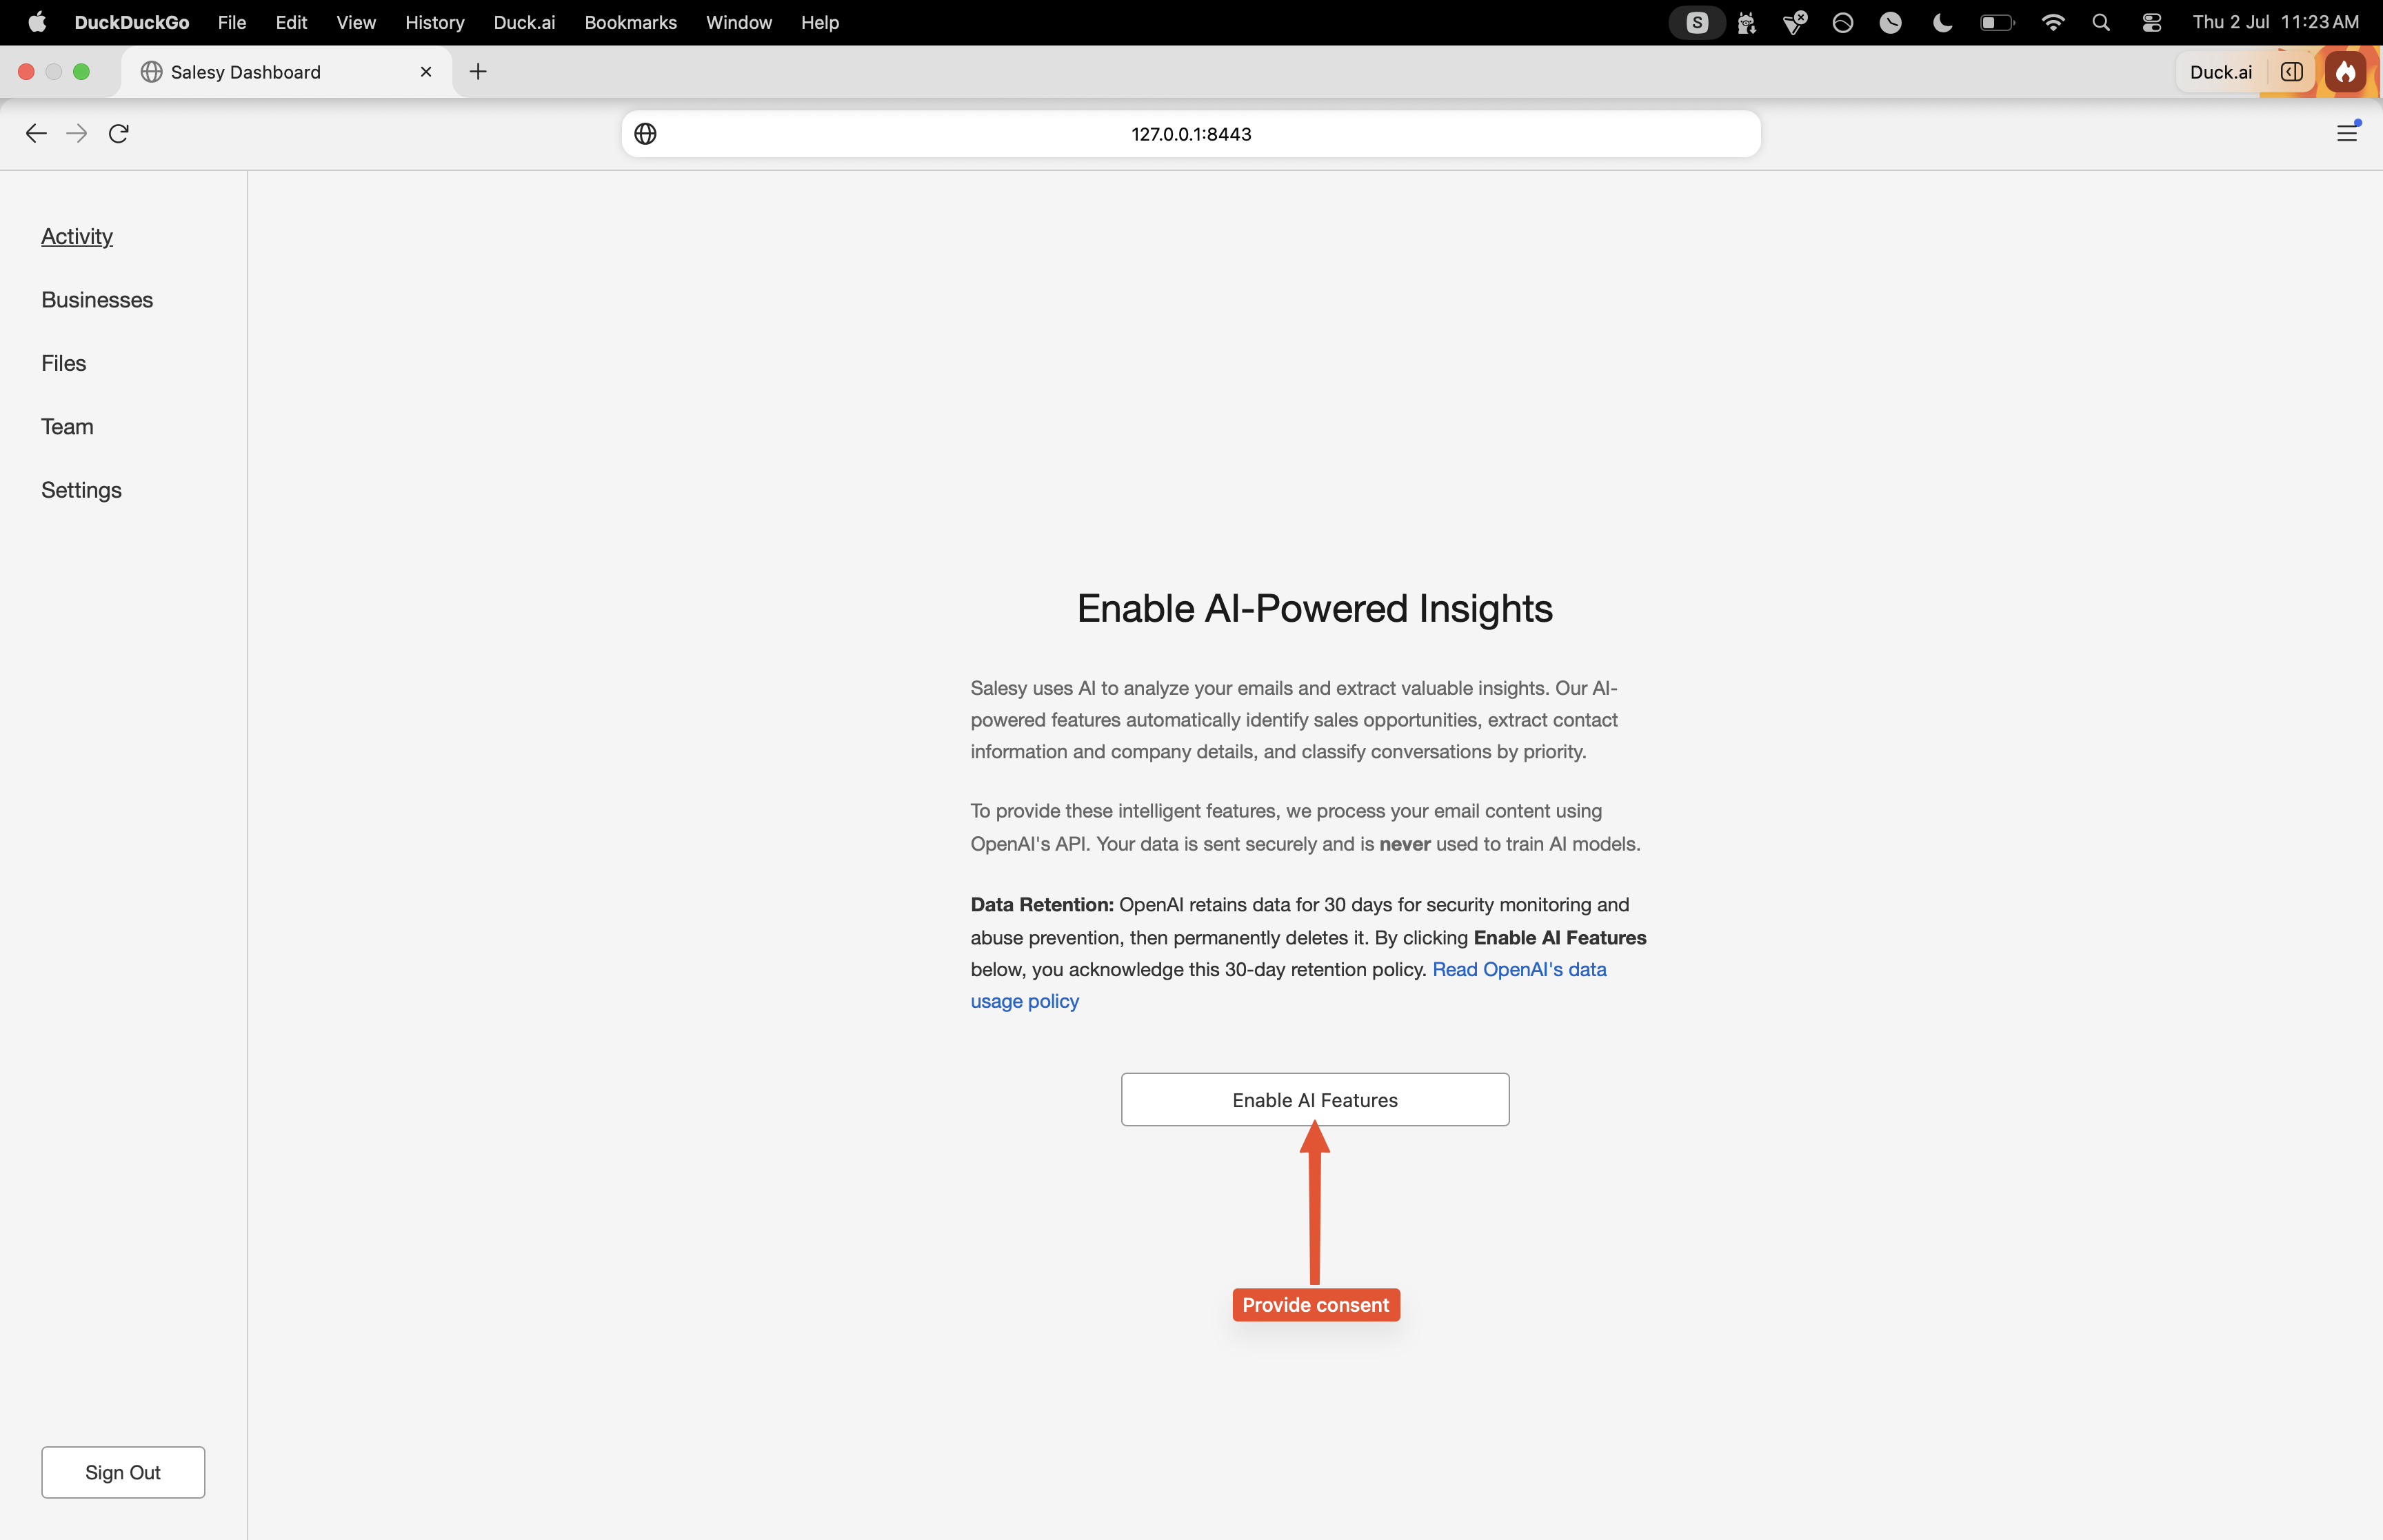
The very first time a user logs into their Salesy account, they’re presented with the consent screen. This is to make them aware of how their data is processed. As of writing, Salesy uses OpenAI’s models for reasoning. This means that the content of user’s email will be sent to OpenAI. By deafult, OpenAI retains the data for a period of 30 days. Their zero data retention policy is only available for enterprises with a qualifying use case. Similarly, another option is to use self-hosted open-source models. The economics of this makes sense when the scale is high enough. For the initial version, it’s only feasible to use hosted models. With this constraint, the user is asked to consent to Salesy’s use of OpenAI and be aware of the retention policy.
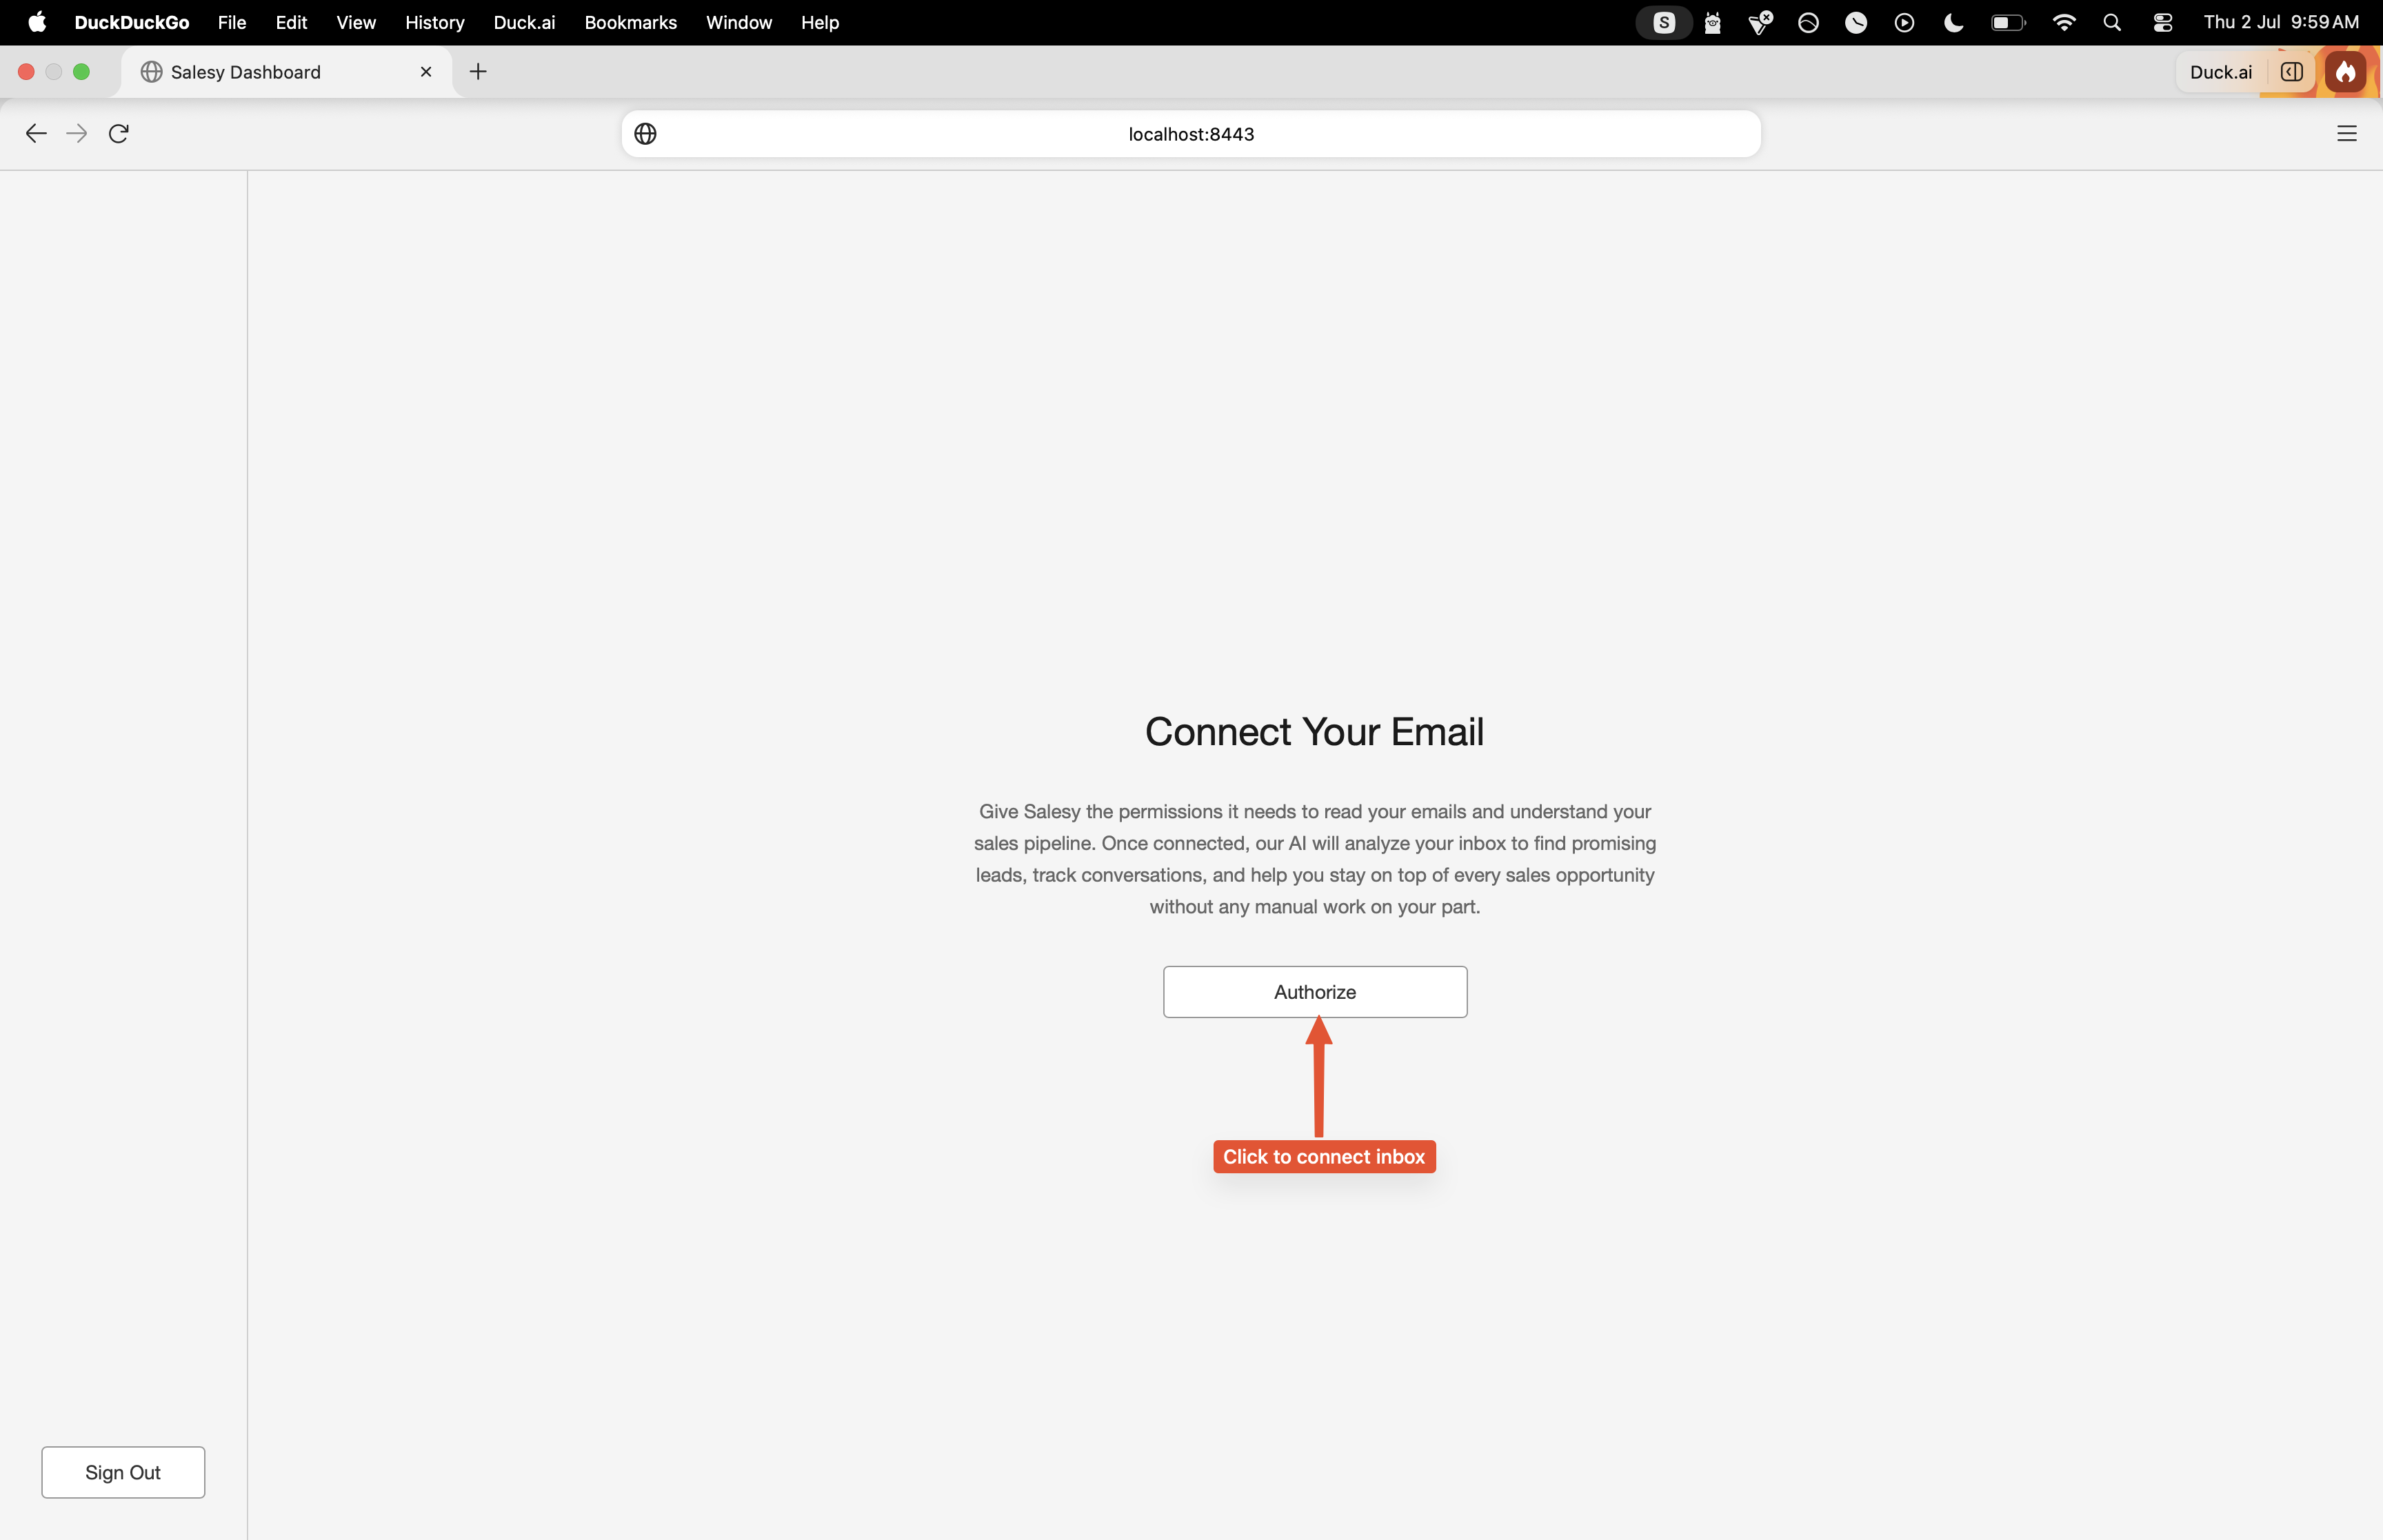
Once the user has consented, they’re presented with the button to connect their inbox with Salesy. For the first iteration, it only works with Gmail. Clicking on the “Authorize” button takes them through the Gmail OAuth process. They’re asked to give Salesy the permissions to read their inbox and to send emails.
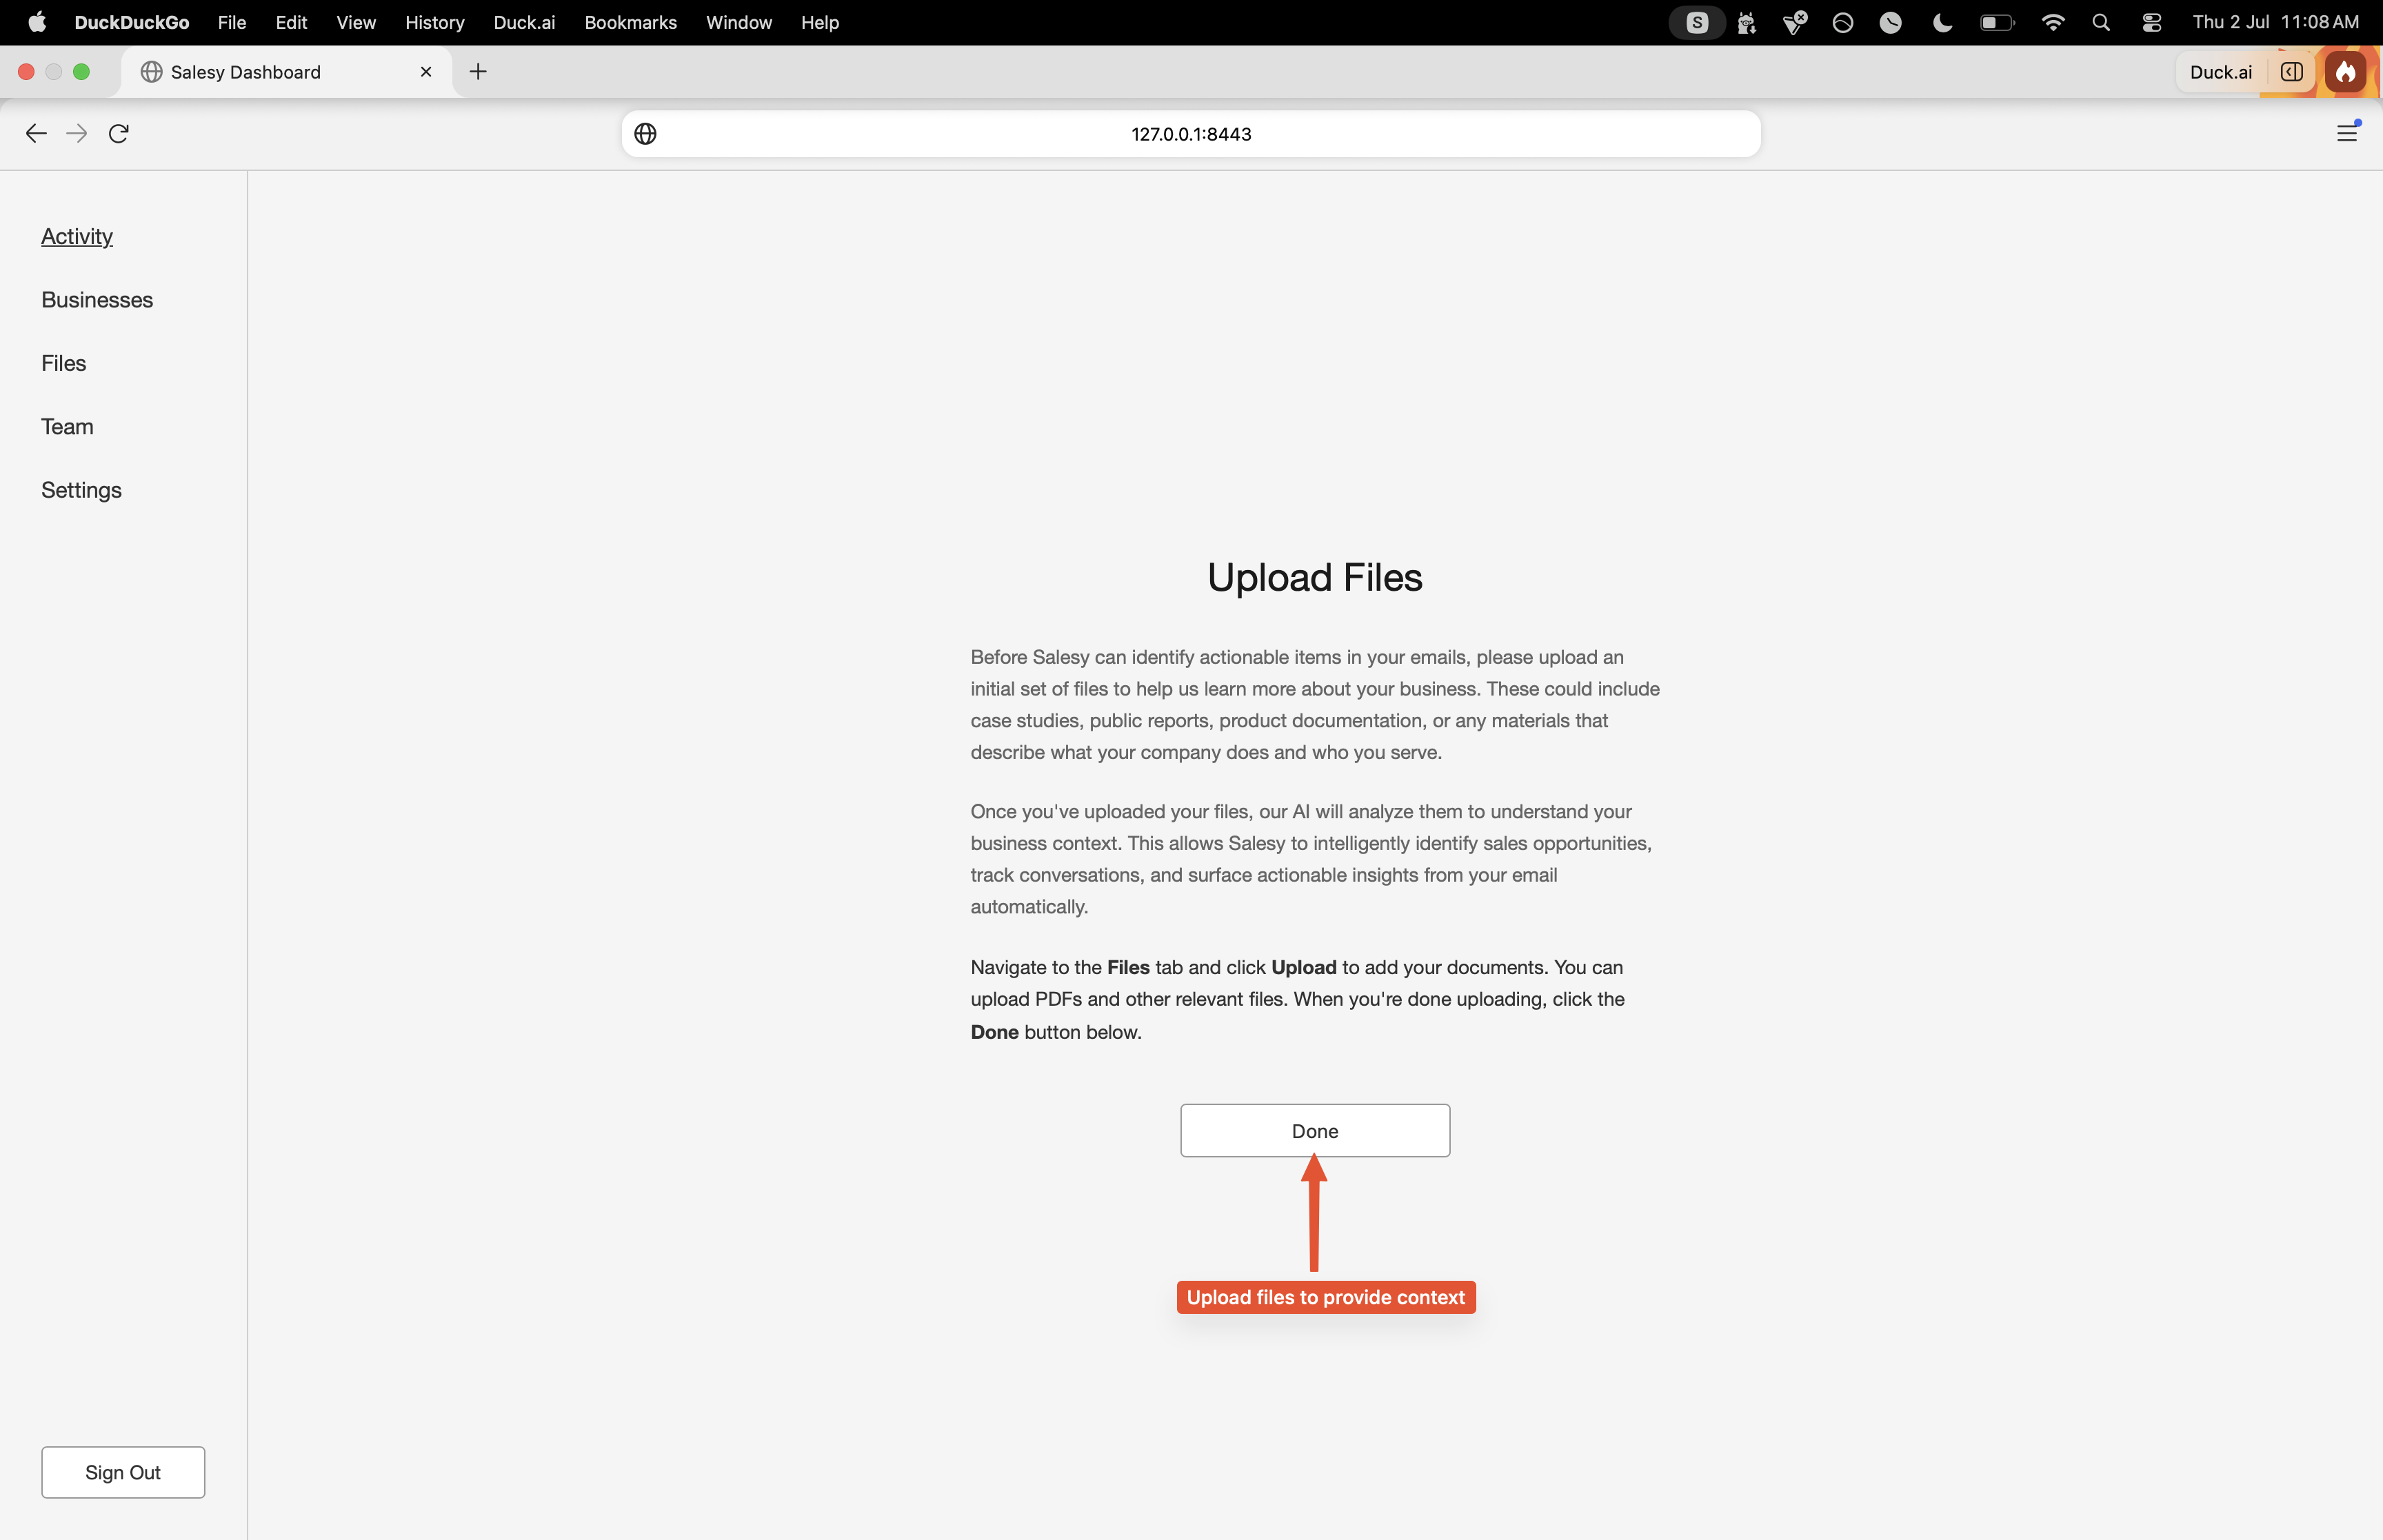
After they’ve connected their inbox by completing the OAuth process, Salesy begins a historical sync of the Gmail inbox. Given that this is a time-taking process, the user is asked to upload files into the system. We’ll look more into what the different types of files can be in a later post. For now, it’s sufficient to know that these can be questionnaires, instructions, general information about the company, and so on.
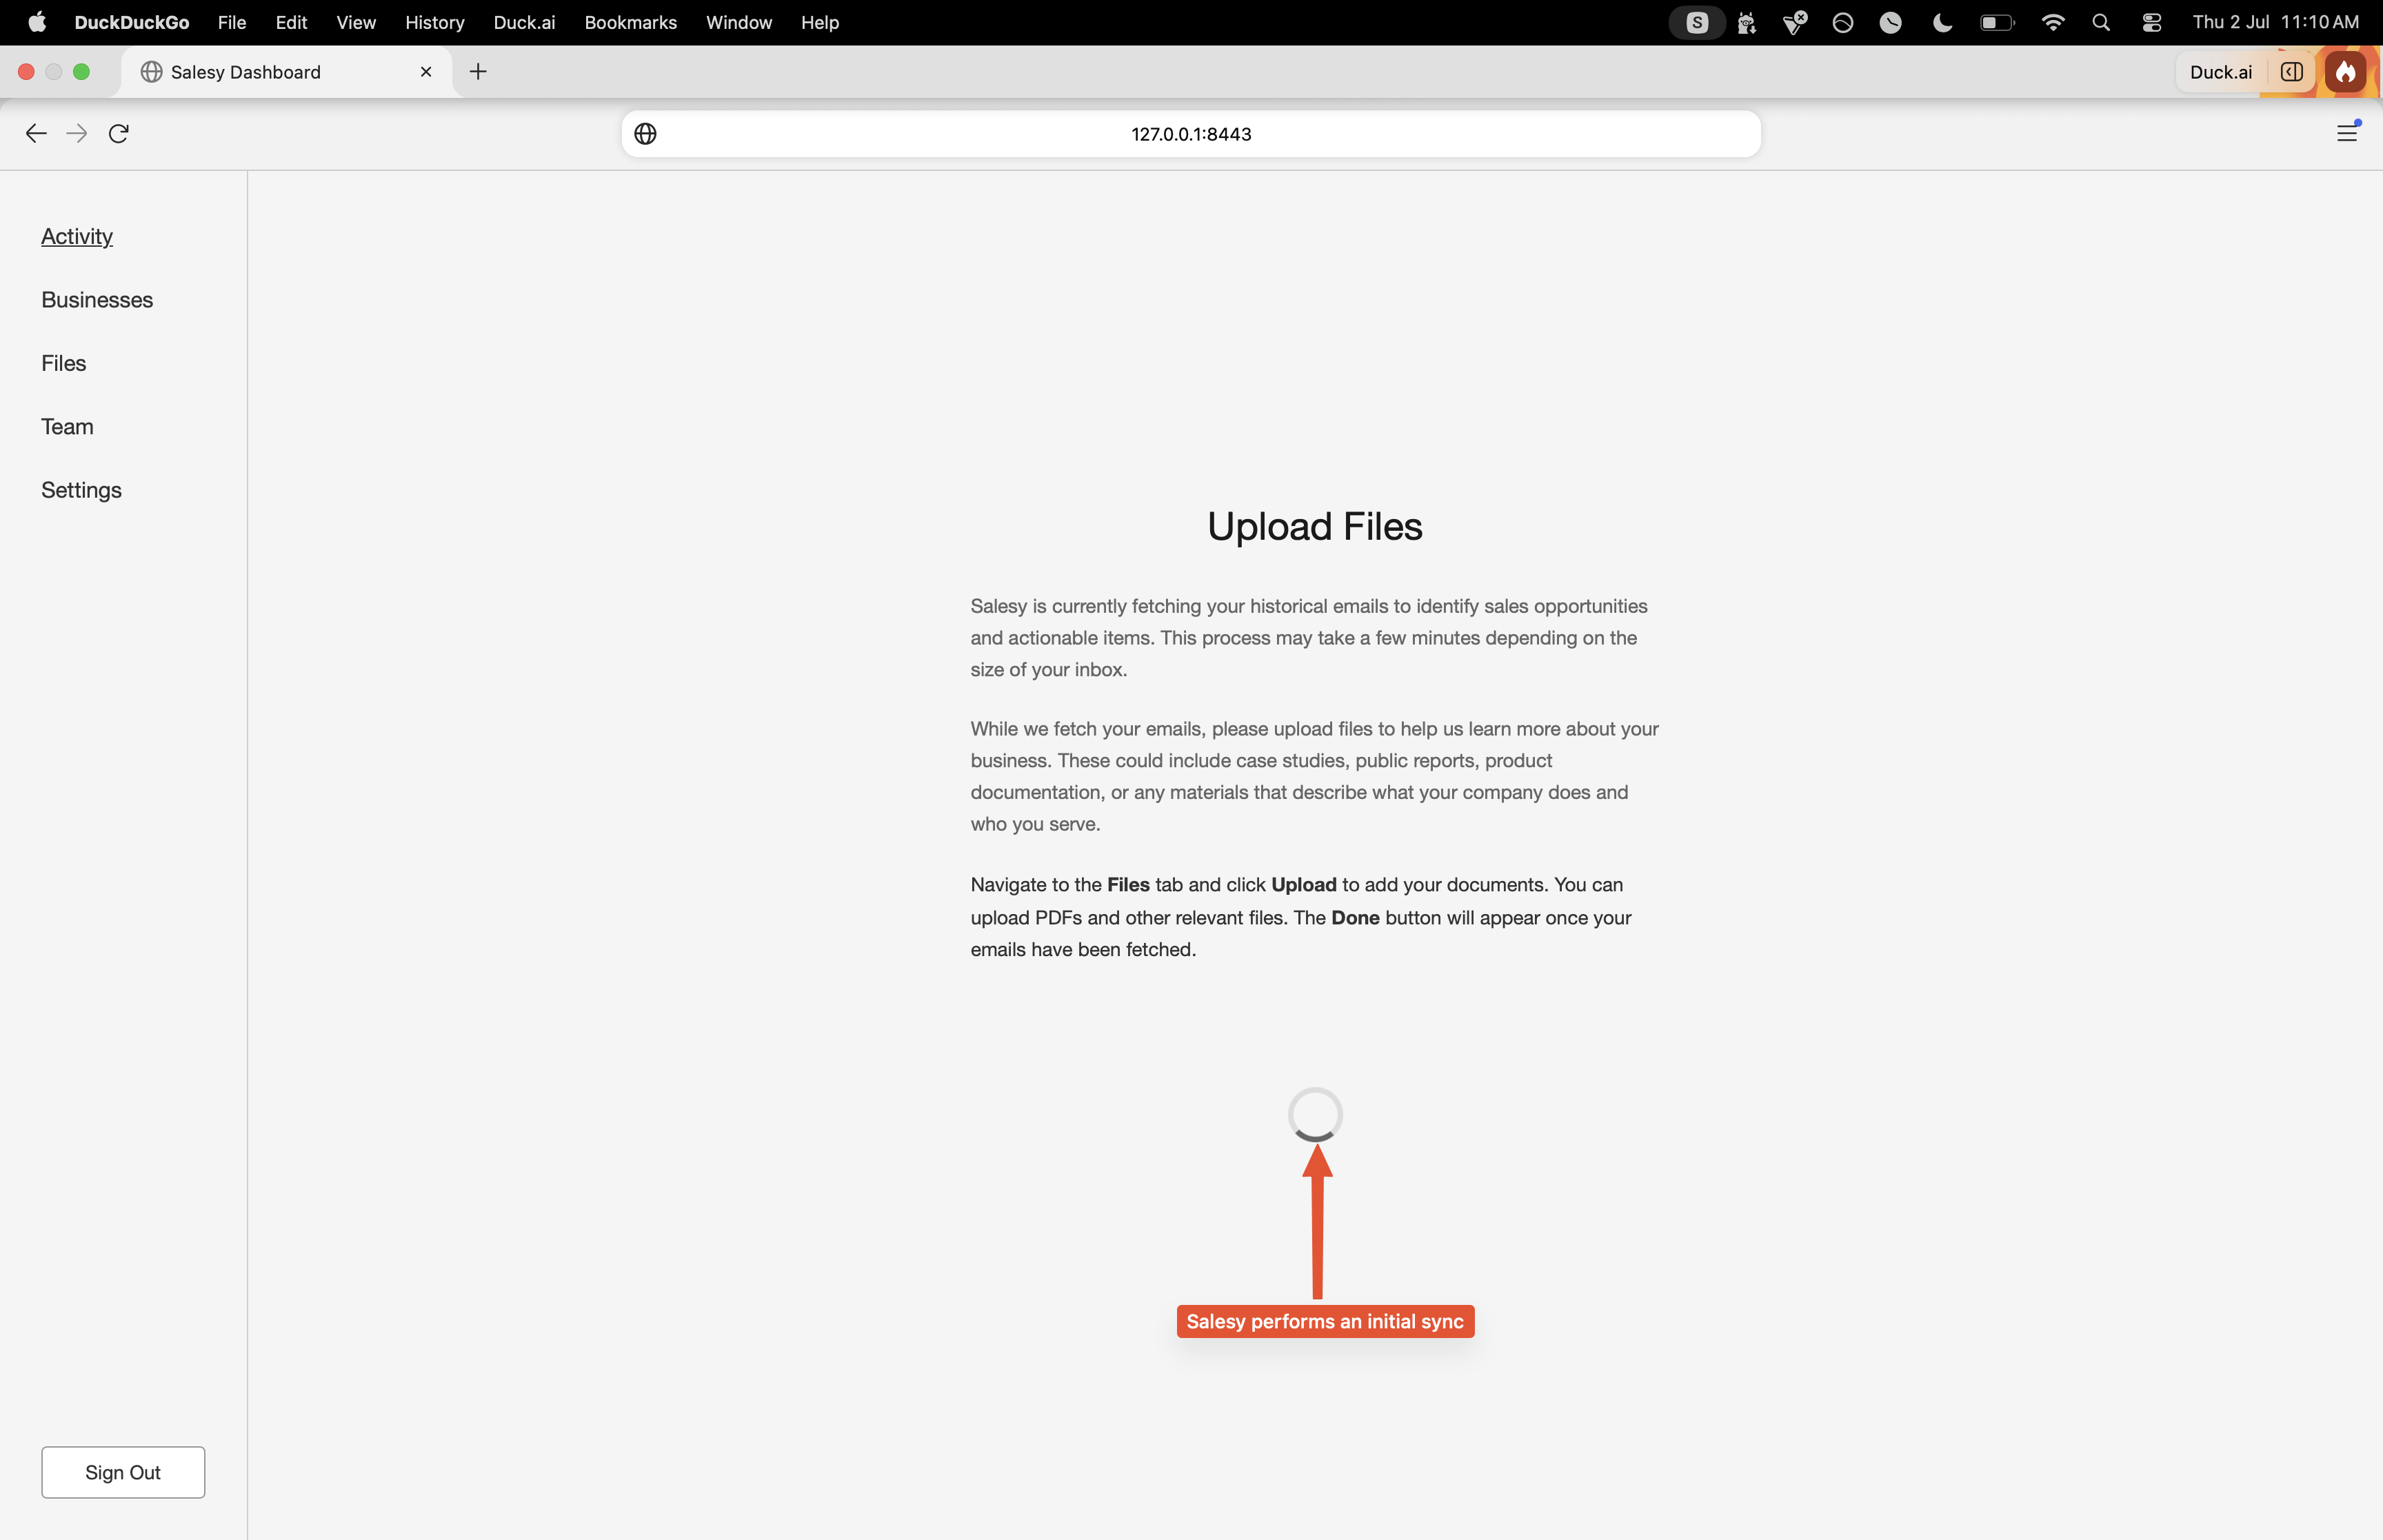
A spinner is presented while the initial sync runs and changes to the “Done” button once it is complete. Once the sync is over and the files have been uploaded, Salesy will begin analyzing the emails and drafting responses to them. While drafting responses, it’ll gather information from the relevant files to ensure that what’s drafted is grounded in information provided by the user.
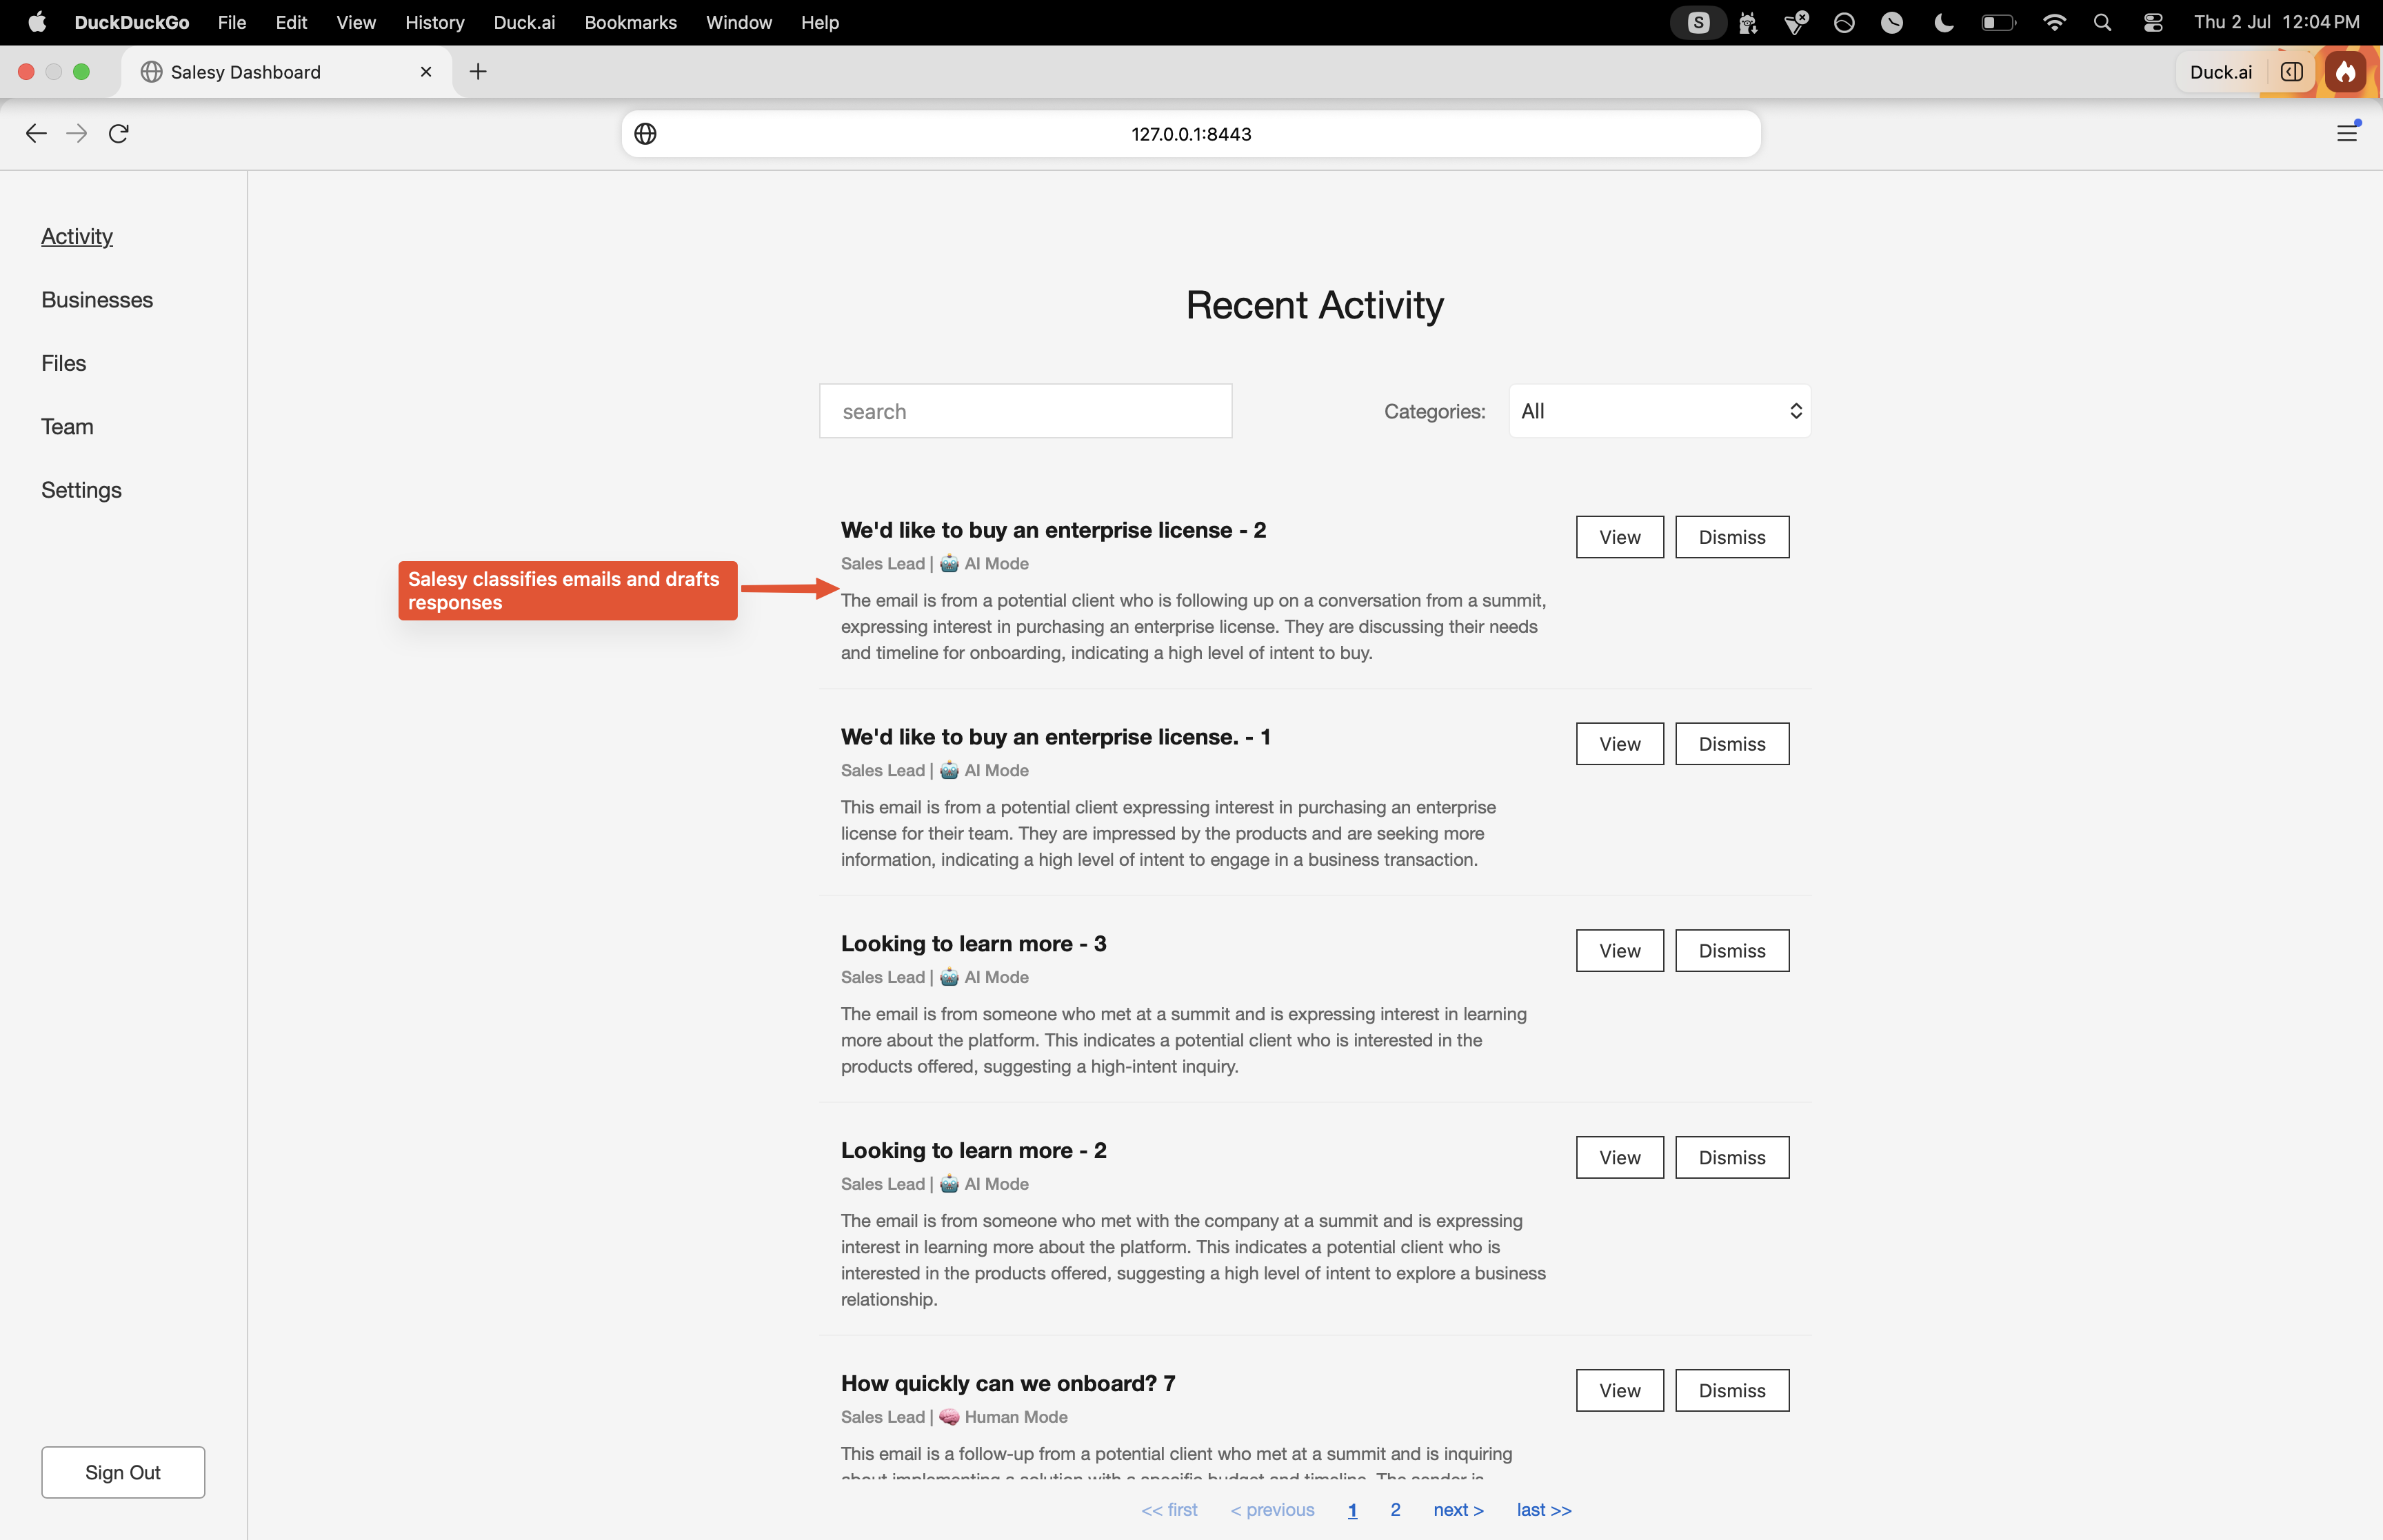
As Salesy drafts each reply, it presents them to the user in the dashboard. Each item in the list is presented with information like its label, such as “Sales Lead”, whether it is human driving the conversation or AI, by mentioning that the conversation is in “AI Mode” or “Human Mode”, and a brief summary of the email. The user then has the option to view the details of the drafted response or dismiss it altogether.
Conclusion
That’s it. That’s how you connect your inbox to Salesy. In the next post we’ll look at how to upload files to Salesy.
Finito.